
Mrs. Sunshine decided she wanted chickens . . . So guess who got stuck building the coop?
This was the first chicken coop I have ever built and like most men that I know – I didn’t bother reading any silly design specs. After all if you had designs, can you really call it a DIY Chicken Coop?
Thus, this coop was designed and built like every man should do it . . . with a beard and nothing more than a chicken scratch piece of paper for your plans (no pun intended).
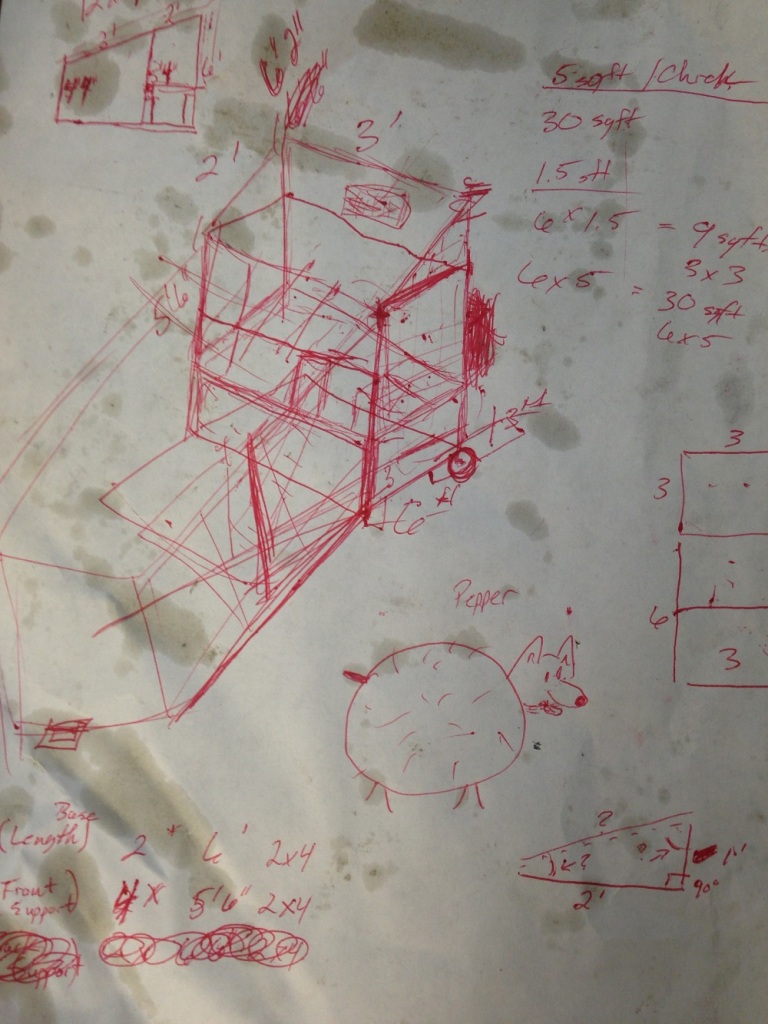
(The kids made me also draw “Pepper” who is my parents crazy fat dog.)
The first step was to pencil a general sketch of how I wanted the chicken coop to look. While I didn’t have any formal plans, I had read enough on backyardchickens.com to get a rough idea of what I wanted.
I had just a handful of criteria that I wanted to incorporate into the building of this chicken coop.
- We wanted to use 90% recycled material from my dad’s mini-farm / shop.
- Amanda wanted an easy to access egg box.
- The chicken coop needed to be self-contained and easy to move.
- The chicken roost needed to be off the ground (due to rats etc.)
At any rate, after I drew my “plans” I started looking for material.
When I am perusing for material around my dad’s shop, there is never a shortage of good cut boards. In-fact I have this voice in my head (in my dad’s voice) that says “you just don’t throw away a good cut board!”
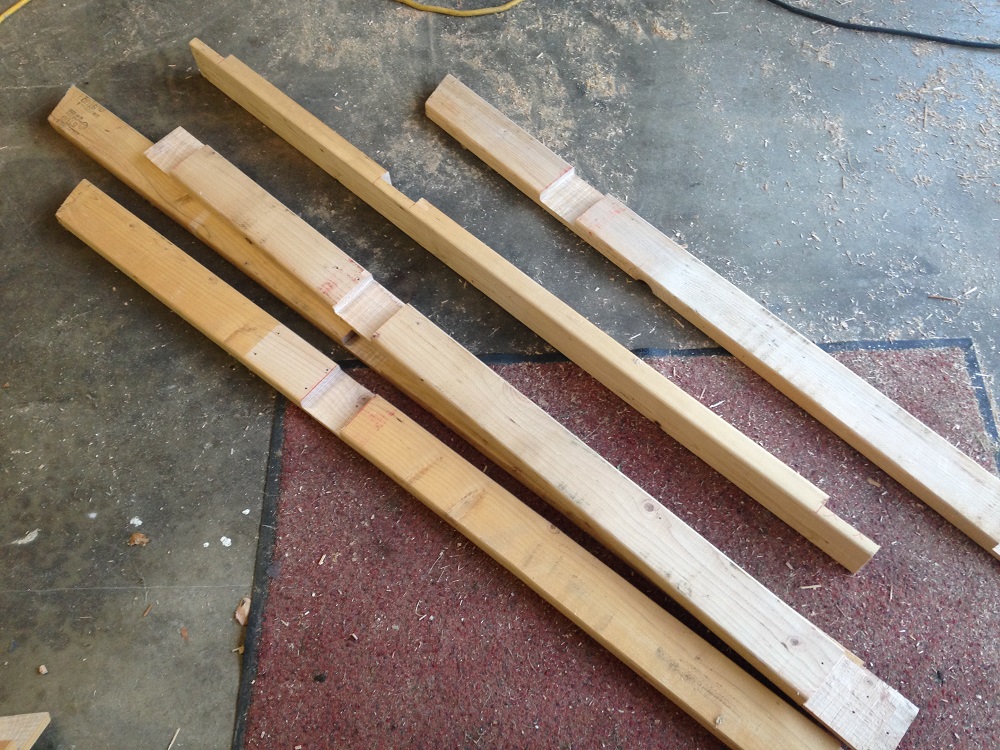
So I selected a number of previously used 2×4 soft woods (mostly pine) and some T1-11 siding that would hold up during the rainy Northwest winters. I also found some old cabinet door hinges and then went to work.
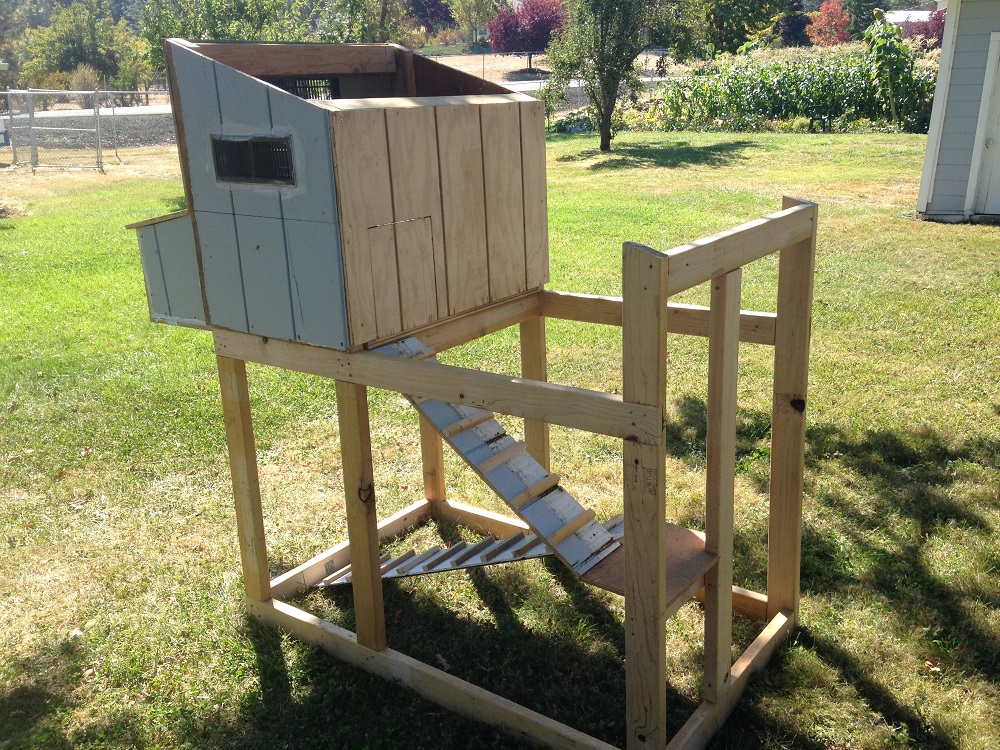
My basic dimensions were 3’x2’ roost with a 5’x3’ run. This gave me a combined 21 sq. ft.
I read that each chicken needed about 1 sq. ft. of roost space and around 4-5 sq. ft. of living space. This would put me in the 20 sq. ft. – 30 sq. ft. range.
So while the chicken coop seems a bit small, it actually meets the criteria for chickens that will free-range during the day time and roost in a closed area during the night. Again when building a DIY chicken coop, the choices is really yours to make (I don’t think the chicks care that much).
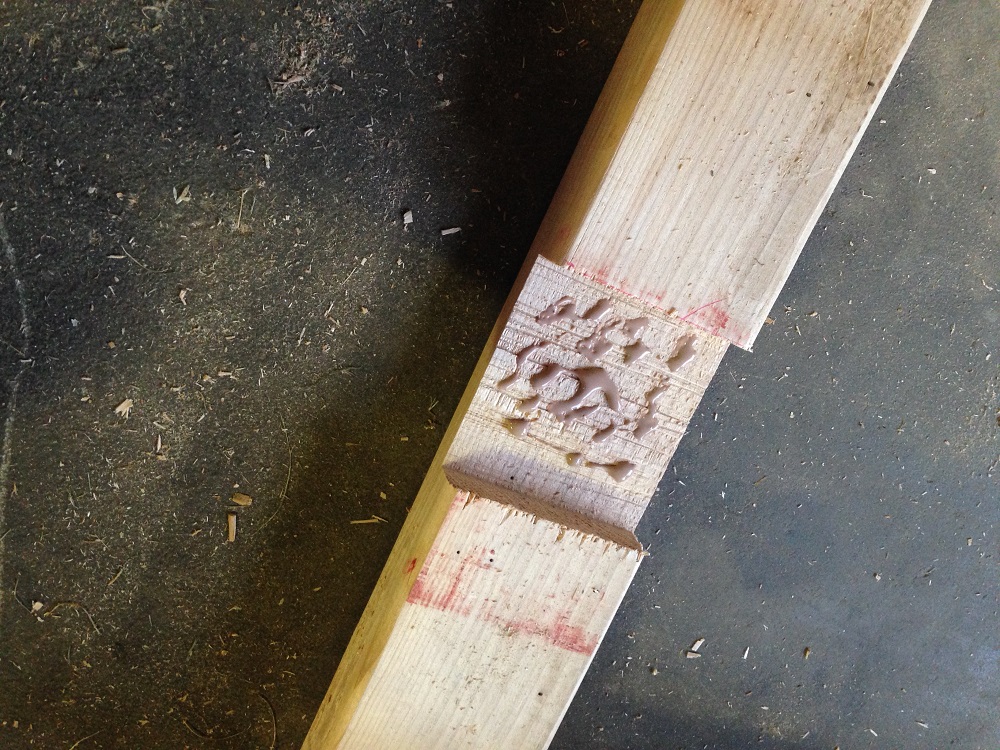
The first step was to dado blade my frame (I get it! . . . it’s way overkill for a project like this, but it gave me an excuse to stay in the shop a bit longer). 🙂
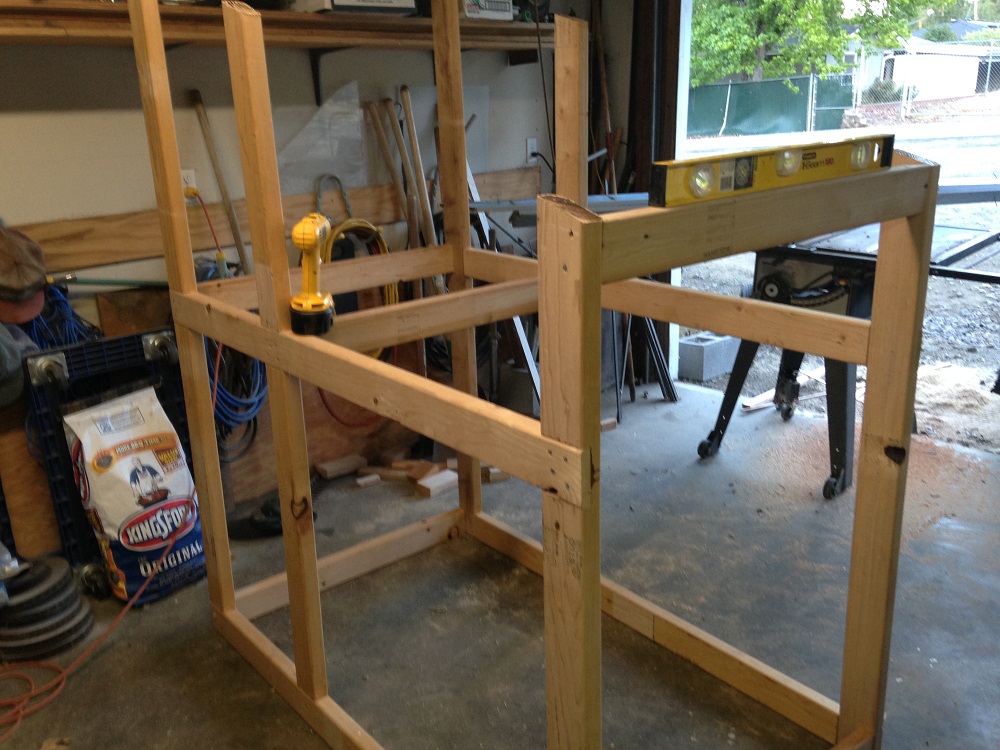
Next came the frame assembly . . . The nice thing about using a dado blade set is that it should (in theory) square up nicely if its cut right. I would still recommend using a builders square before securing the frame together.
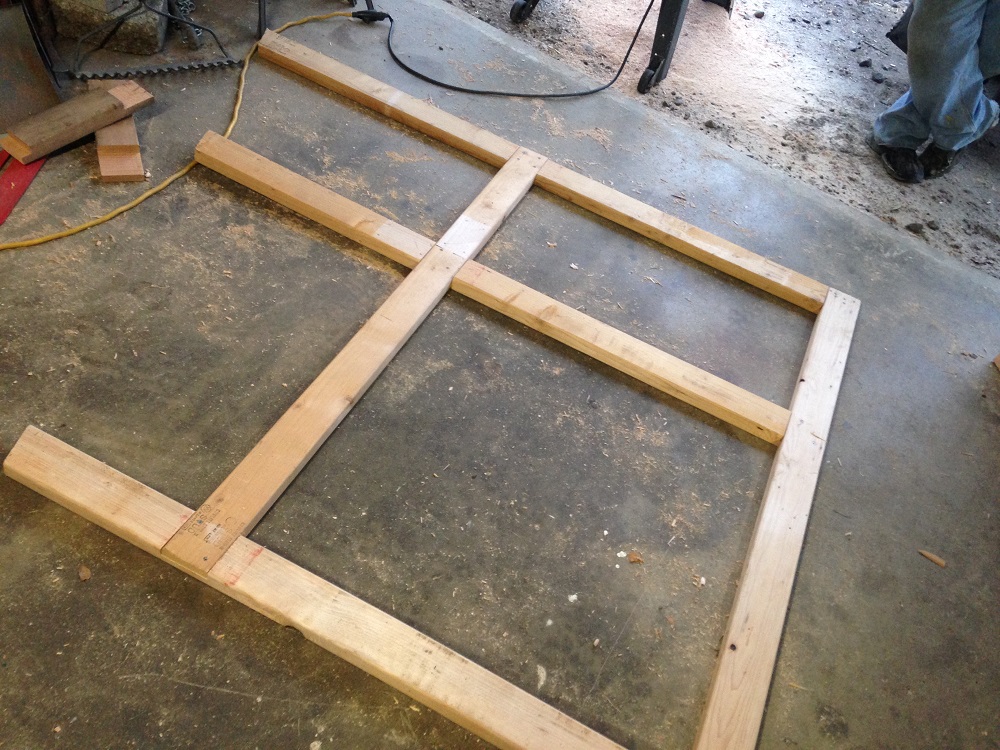
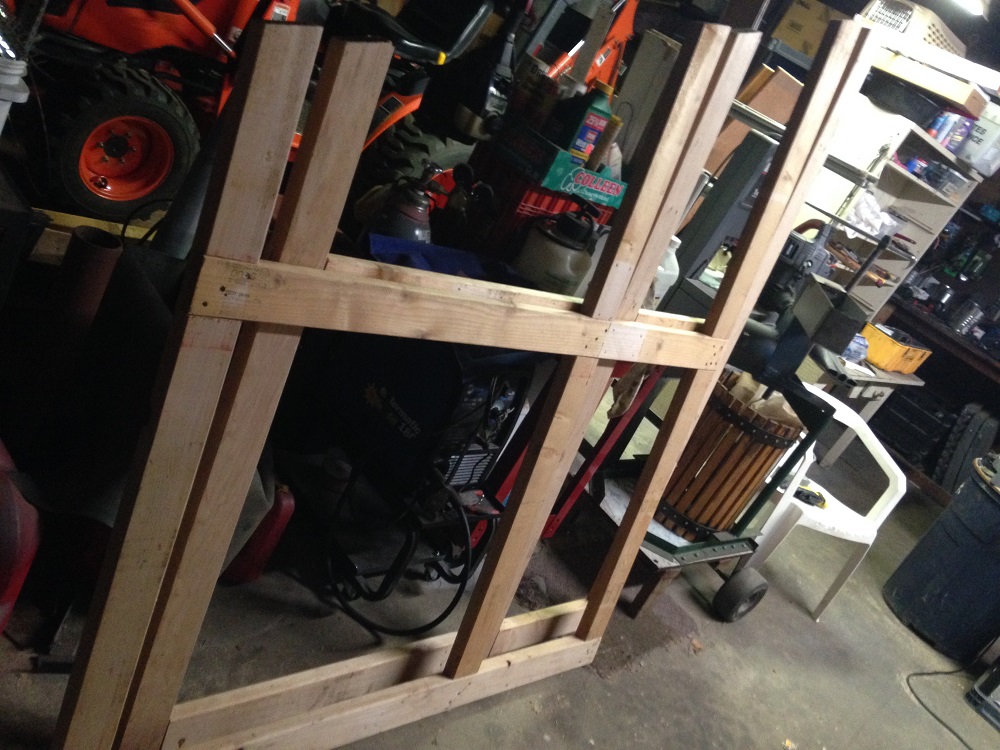
Again, keeping up with my manly way of doing these DIY projects, I used galvanized deck screws to secure the frame (with dabs of wood glue). I suspect this frame can hold up to a small hurricane.
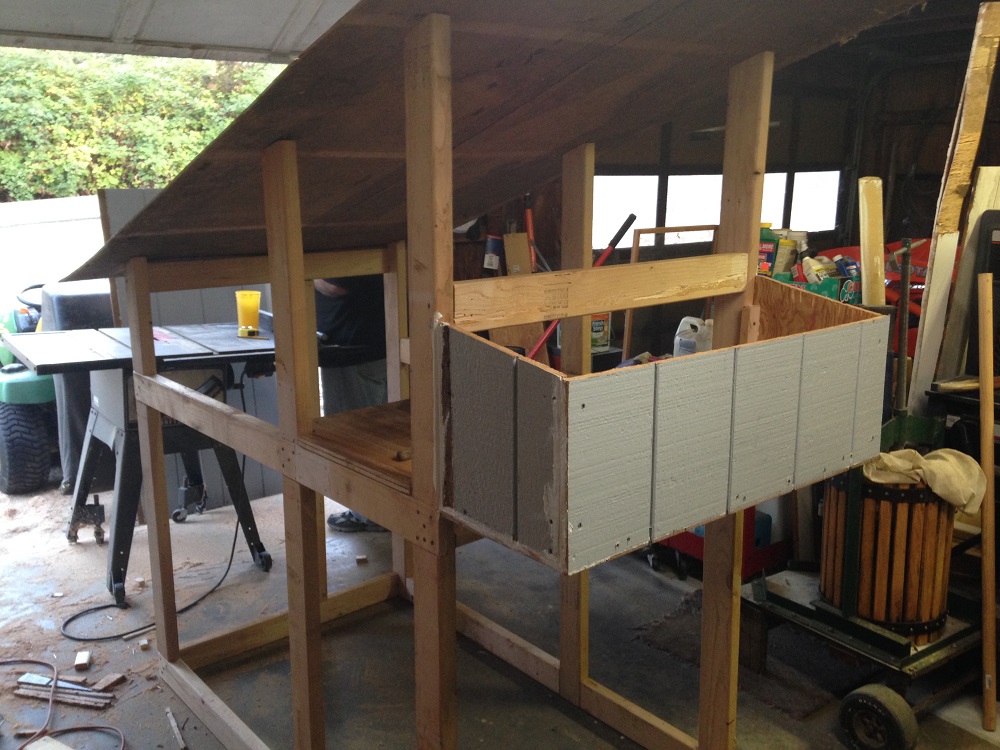
After the left and right side of the frame were assembled, I placed 2×4 braces between the 2 sides to finish the basic “box” design.
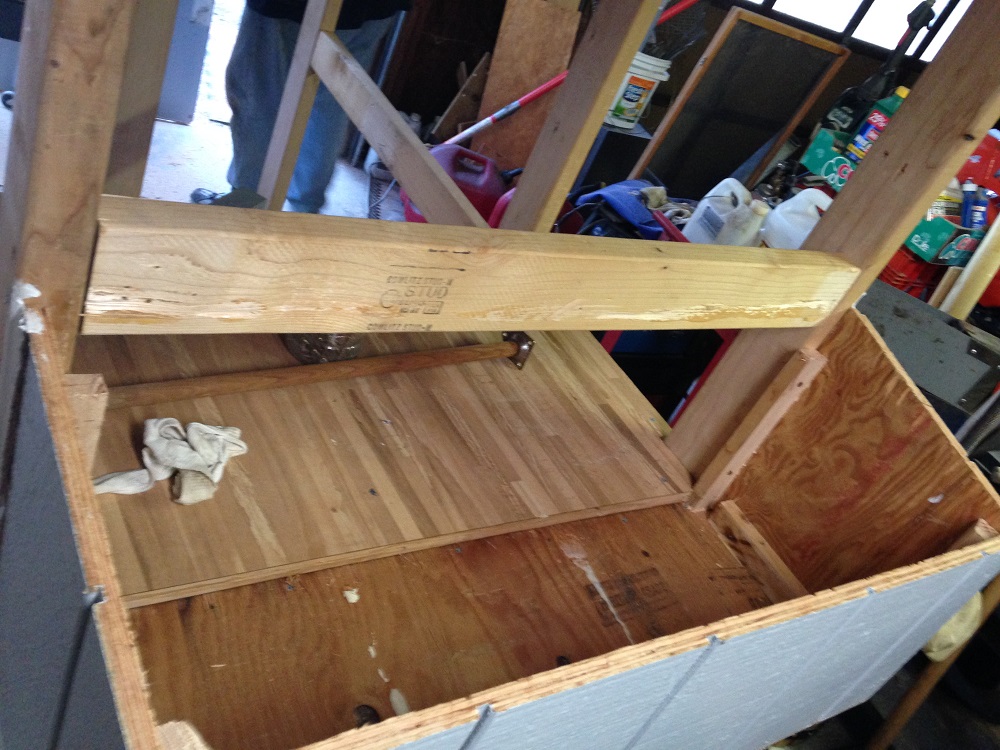
At this point, we contemplated the floor of the roost and I found an old table from a 1980’s RV that had a wood laminate top. My idea with using this was it would make cleaning chicken poo a little easier. So I cut some notches in the “table” to make the floor of the roost.
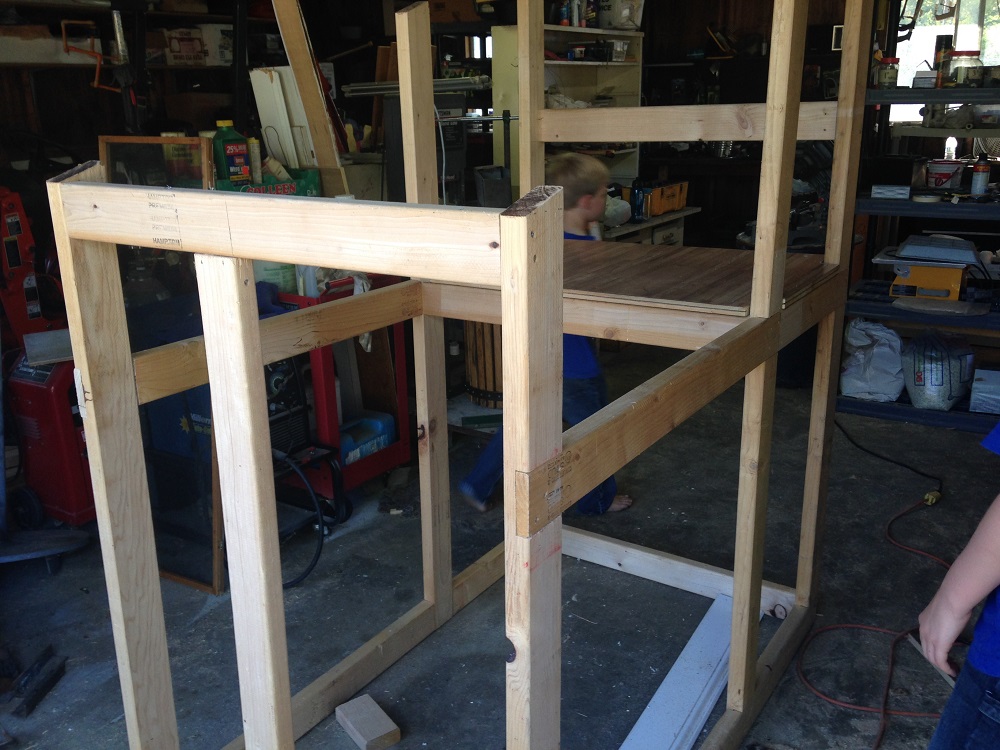
The nesting box is not included in the official space calculation, but ultimately I wanted it to be 3 separate 1 sq. ft. areas to allow 2 nesting boxes per chicken. Again, I think technically this is overkill, but since the overall chicken coop was 3 ft. wide, it worked out nicely this way.
At this point, I cut and attached the T1-11 siding to the outside of the frame.
The door to access the coop is just a basic 2×4 frame with construction braces to help make it ridged.
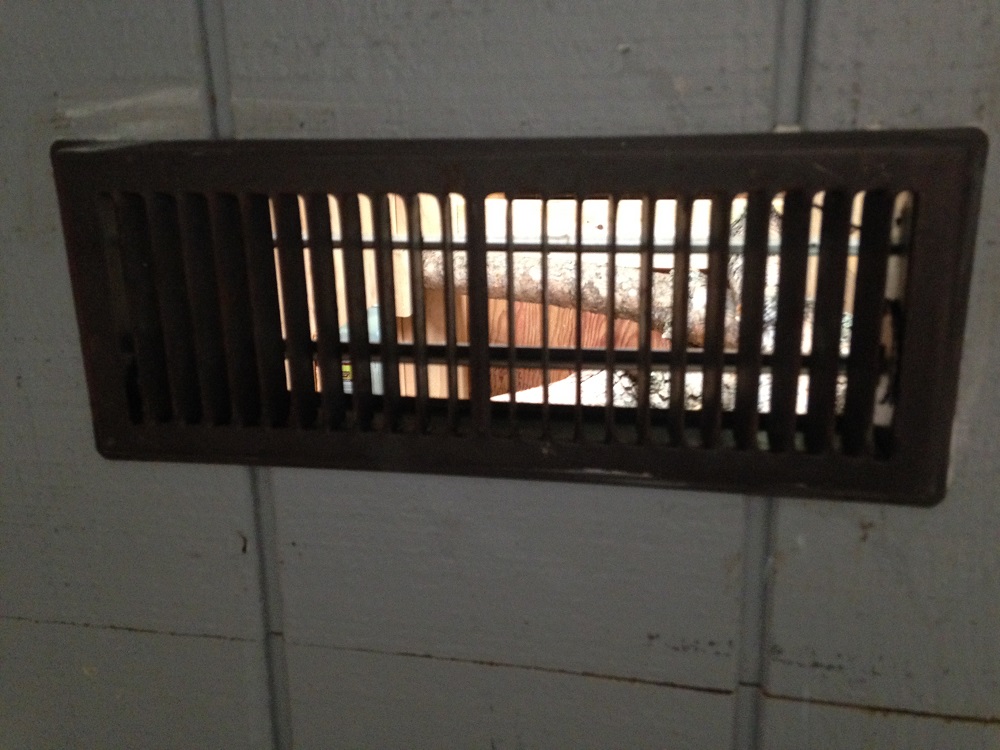
One nice feature is that I found these old vent covers and took extra time to WD-40 the gears to allow for easy closing during the winter, but also create 3 vent systems for the summer.
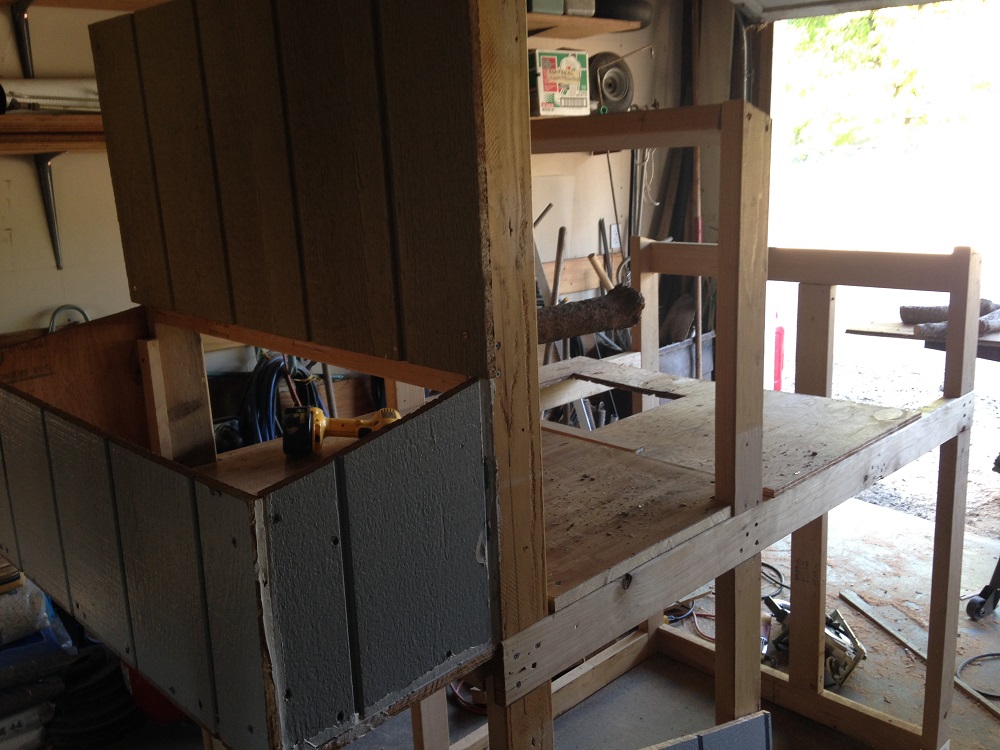
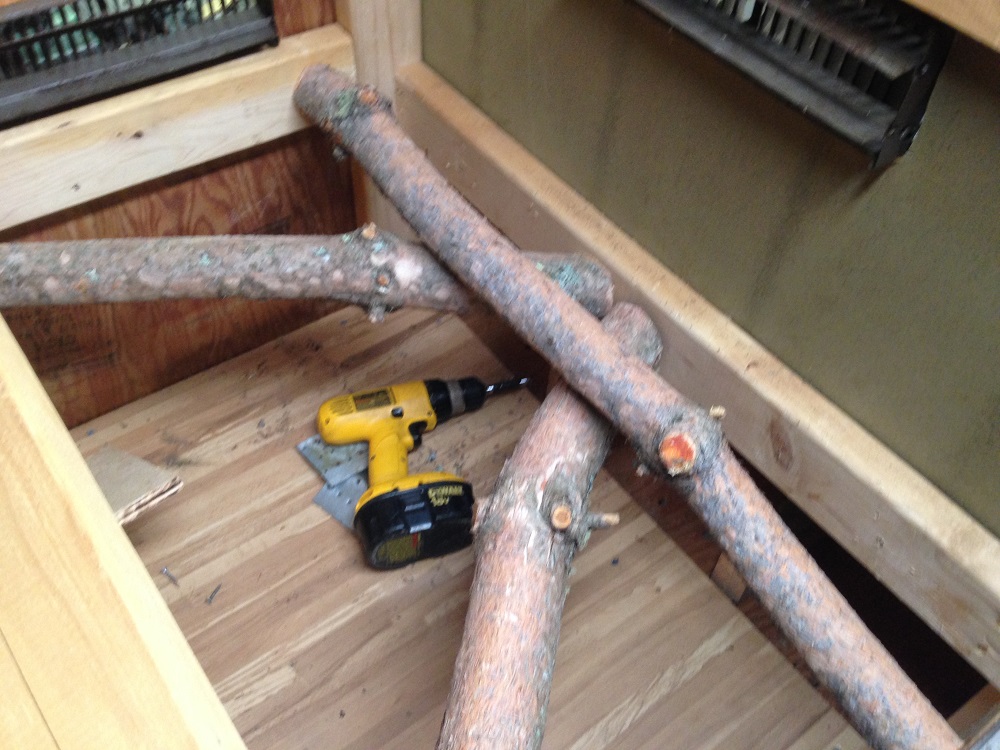
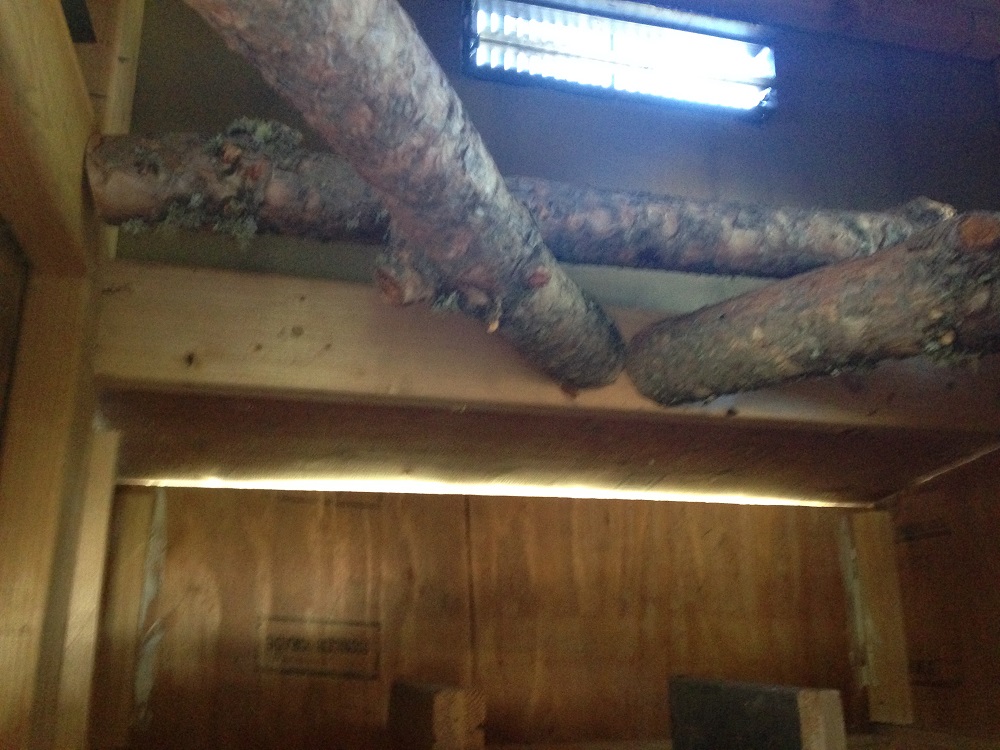
Now if you ask me what I am most impressed with myself over, it is the roosting areas that are fabricated out of natural pine tree limbs.
I went to the neighbor’s yard who had some trees they needed trimming and removed some branches that were around 4 in in diameter. At this point I had to put my math hat on and use some basic geometry to cut the angles so that the tree branches would fit into their respective location.
Notice the angles I have them at, which left a nice center gap so the chicks can easily fly up to the roost without bumping their heads.
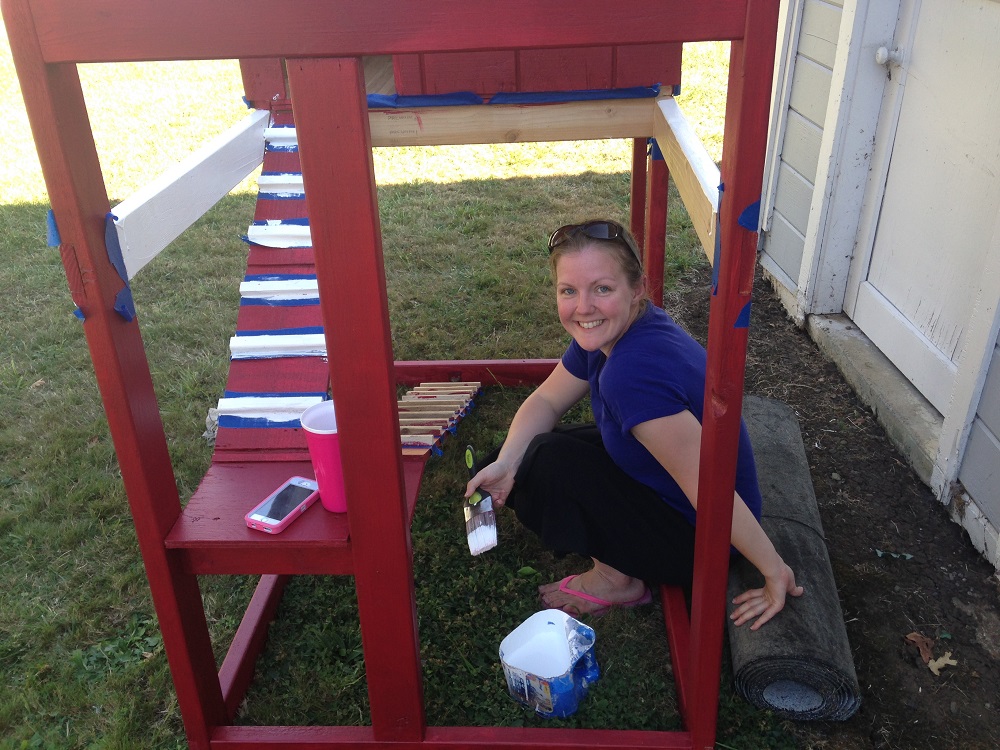
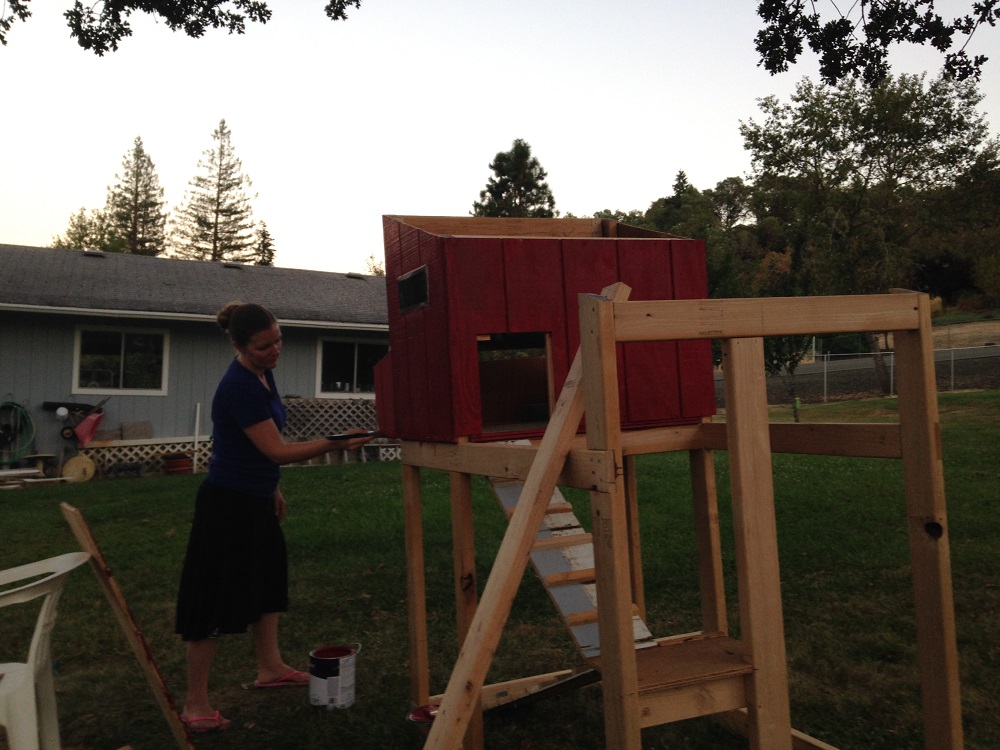
From there we painted the chicken coop a nice barn red with white accents and purchased a 25’x3’ roll of 1” chicken wire. These were the only 2 items we purchased (1 ga of paint and chicken wire). All other materials were salvaged from other projects. Total cost was under $40 for both items.
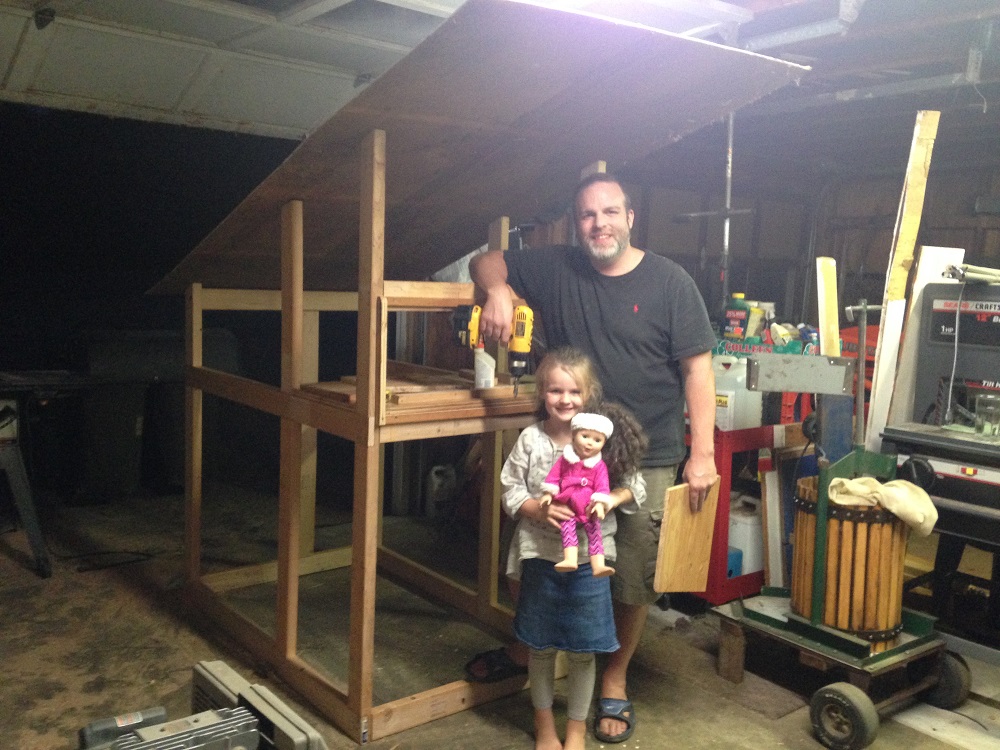
Naturally Mrs. Sunshine chose all the colors and did all the painting to make it pretty . . . guys with beards are practically incapable of making things pretty. From the pics below, its not wonder I love this gal so much!
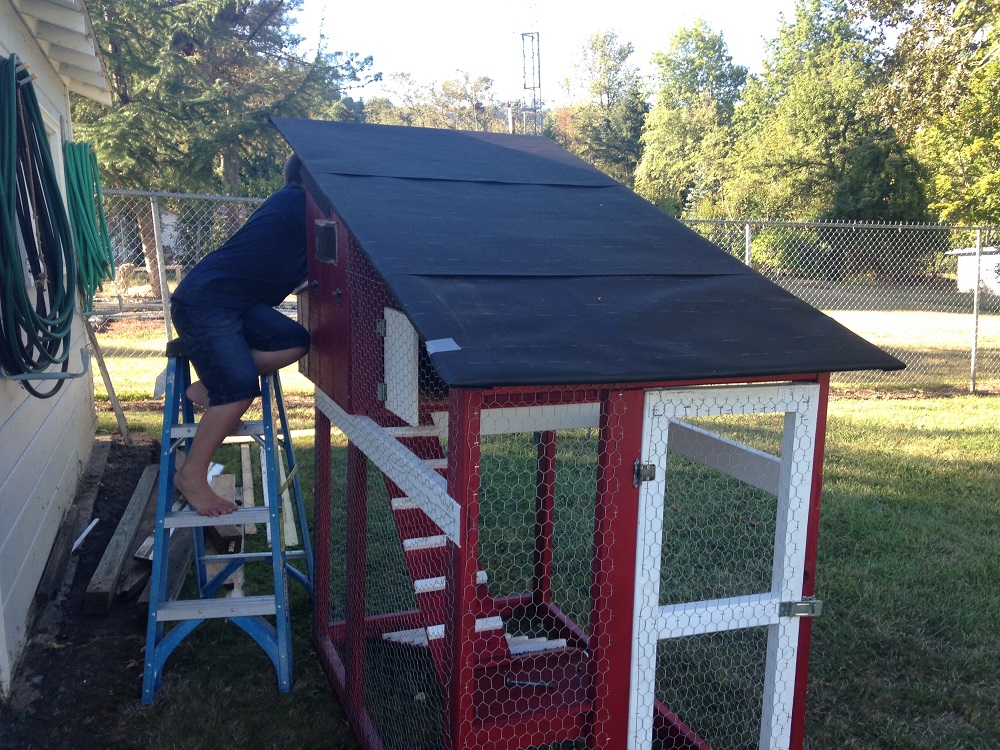
The roof is a simple piece of ¼ ply wood with some Roll Roofing (shingles) to help seal it in.
And this my friend . . . is how you build a DIY Chicken Coop!
Follow up to the coop design and what I learned after the fact . . .
I am already thinking of some upgrades that would include automatic feeder systems and a light active door so “Mrs. Sunshine” can sleep in more.
The door, I made was 18″ wide (small enough for Mrs. Sunshine and her 3 minions to access). But when you are a 200+ LB almost 6′ tall bear with a beard . . . it’s a bit of a tight squeeze. So making a bigger door would have been a bonus.
Stay tuned for post about the feeders and my door upgrades . . . Can you hear the “Tim the Tool-man” grunt . . . ?

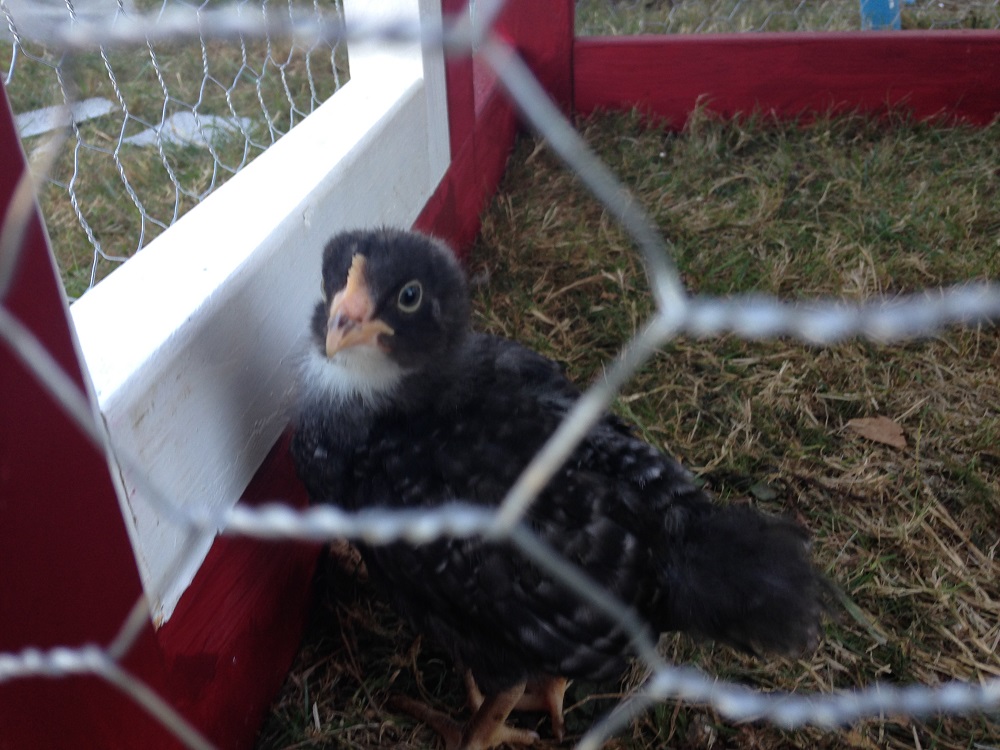
How do the chickens like it?
Honestly, I don’t think they care – they just poop all over it anyway. So I guess the next coop will be located at the back of the property and I won’t care how it looks.
Hope you enjoyed!

[…] individuals are progressively more creative and funds saving by constructing the DIY Chicken Coop. These structures are simple to make and enhance the advantage of one’s home backyards. The […]